
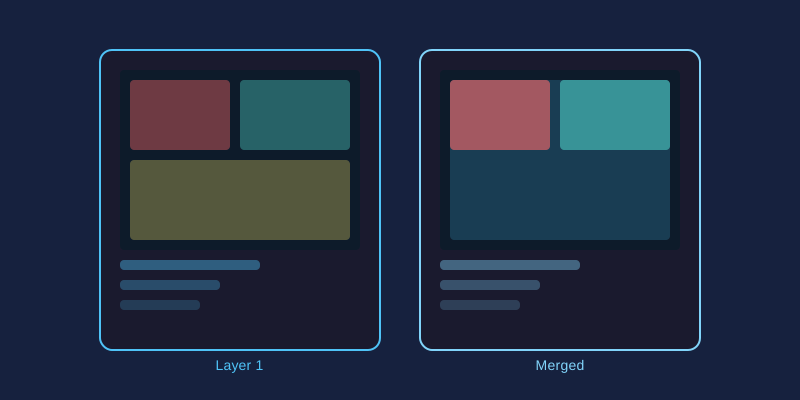
Sometimes one frame is not enough. Whether you want to capture a sweeping landscape, showcase a renovation, or build a mood board, combining several photographs into a single image opens creative doors that no lone shot can. Here are the five most useful merging techniques and how to execute each one.
Panorama Stitching
For vistas wider than your lens allows, shoot a series of overlapping frames, panning left to right with roughly 30% overlap between shots. In your editor, create a canvas matching the combined width, paste each frame onto its own layer, and align them by nudging horizontally while watching shared landmarks. Fade the seam by erasing one overlapping edge with a large, soft brush at low hardness. Flatten and crop the ragged top and bottom edges for a seamless wide-format result.
Photo Grids and Collages
- Decide on a layout: two side-by-side, three stacked, or a nine-square Instagram style block.
- Create a canvas sized to the final destination, such as 1080 by 1080 pixels for social media.
- Resize each photo proportionally and position it within its cell.
- Add uniform gutters by leaving equal spacing between images, filling the gaps with white, black, or a brand color.
Uniform gutters matter more than people realize; uneven spacing is the fastest way to make a collage look thrown together.
Before/After Layouts
Fitness coaches, interior designers, and photo retouchers all rely on comparison imagery. Place the "before" shot on the left layer and "after" on the right, separated by a thin divider line. For a more dramatic effect, stack the two versions vertically and erase half of the top layer down a straight vertical line, creating a split-face reveal inside a single frame.
Contact Sheets
Photographers reviewing a shoot benefit from seeing every frame at once. Build a large canvas, shrink each candidate photo to thumbnail size, and arrange them in tidy rows with filename labels underneath. One glance replaces fifty clicks, making client presentations far easier.
Blending Techniques That Tie It Together
- Layer masks: Hide portions of a layer non-destructively instead of deleting pixels forever.
- Soft-edged brushes: Feathered transitions hide seams far better than hard cutoffs.
- Matched adjustments: Apply identical brightness, contrast, and saturation values across all layers so merged photos share one visual voice.
- Gradient fades: Overlap two images and fade one into the other for dreamy double-exposure effects.
Start with a simple two-photo merge to learn the mechanics, then graduate to full panoramas and collages. Every technique above uses nothing more than layers, resizing, and careful erasing.
In a hurry? Use our free merge photos tool to combine 2–9 images into a single picture with side-by-side, grid, or vertical layouts — all in your browser with no uploads.