
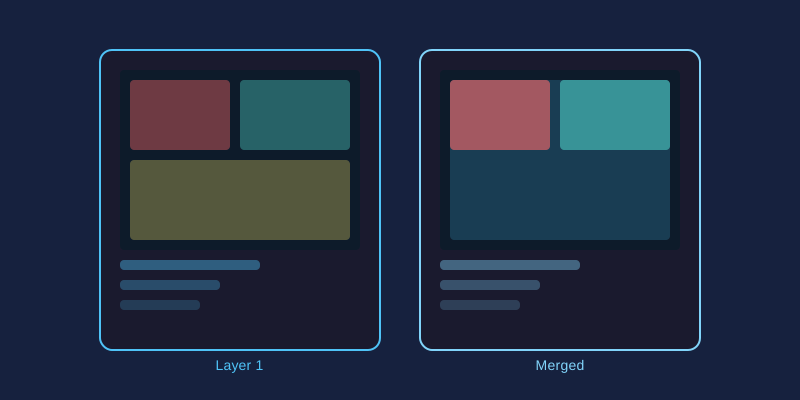
A well-made collage tells a story that single photos cannot — a vacation recap, a before-and-after transformation, or a year in review. Browser-based editors make the process fast enough to finish during a coffee break. Here is how to get results that look designed rather than thrown together.
Choose Your Collage Style First
Two main approaches exist, and picking the right one saves hours of frustration:
- Grid collages: Photos snap into predefined cells of equal or varied size. Perfect for uniform sets like product shots, family portraits, or event recaps. Grids look tidy with almost zero effort.
- Freeform collages: You place, rotate, and overlap images anywhere on the canvas. Ideal for scrapbook aesthetics, mood boards, and artistic compositions where deliberate messiness is the point.
If you are unsure, start with a grid. It is nearly impossible to make one look bad.
Select Photos With a Common Thread
The fastest way to ruin a collage is mixing unrelated images. Before uploading, pick photos sharing at least one element: same event, similar lighting, matching color palette, or consistent subject matter. Five to nine images usually works best — fewer feels sparse, more becomes visual noise.
Nail the Layout
- Lead with your strongest image. Give it the largest cell or the top-left position, since Western eyes scan from there first.
- Mix orientations. Pair landscape shots with portrait shots so no cell forces awkward cropping.
- Balance busy and calm. Alternate detailed close-ups with simpler wide shots to give viewers' eyes resting places.
- Keep faces away from edges. Crop so heads sit comfortably inside their cells, not sliced by borders.
Use Spacing as a Design Tool
Gutters (the gaps between photos) dramatically change the mood. Thin gutters of 2–5 pixels create a modern, seamless mosaic. Wider gutters of 10–20 pixels feel airy and gallery-like, especially against a white background. Whatever you choose, keep spacing uniform across the whole collage — inconsistent gaps are the number one giveaway of amateur work.
Edit for Consistency, Not Perfection
Photos taken minutes apart can have wildly different colors. Apply the same filter or adjustment preset to every image so the set reads as one piece. A slight warm tone or gentle fade applied uniformly unifies mismatched sources instantly. Do not over-edit individual photos — the collage is the artwork now, not each frame.
Export for Your Destination
| Square posts | 1080 × 1080 px works on Instagram and Facebook feeds. |
| Stories/Reels | 1080 × 1920 px vertical format. |
| Tall 1000 × 1500 px performs best. | |
| Printing | Aim for 300 DPI — an 8×10 inch print needs roughly 2400 × 3000 pixels. |
Set your canvas size before arranging photos to avoid stretching later. For prints, save as PNG or maximum-quality JPEG.
Final Check Before Sharing
Zoom out and view the finished collage at thumbnail size. If it still reads clearly when small — no muddled cells, no awkward crops — you are done. Free online editors handle everything described here without watermarks or sign-ups, so experiment freely until the layout clicks.